


I wasn’t sure how much in depth to go on my review of Z1 Motorsports master cylinder brace and 13 inch rotor upgrade kit… but here’s some info on what new brake stuff I’ve been up to… the difference is like night and day… for under 350.00 and to have such a dramatic difference in feel is crazy.
Click Picture for review;

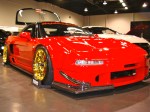
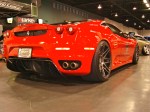
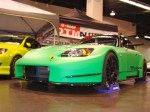
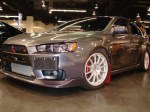
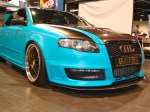
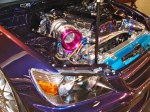
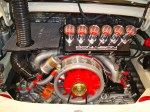
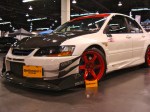
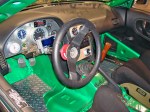
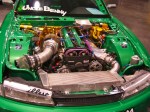
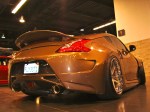
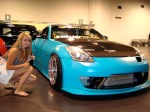
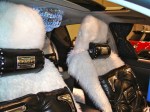
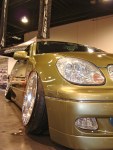
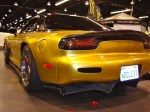
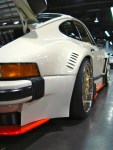
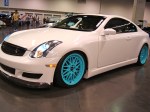
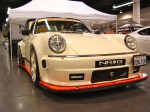
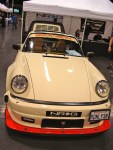
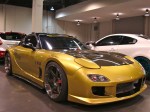
This is one of my favorite car shows ‘SpoCom’ at the Anaheim Convention Center, August 4, 2012. I brought my camera to the show to get some good shots… here are a few cool things I saw this weekend….


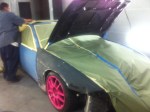
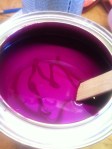
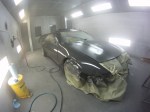
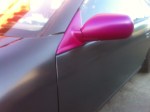
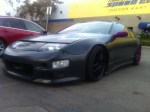
Here are a few pictures of the painting and sanding process I went through to transform my Z. Again. Inside and out.
Thanks to Kearny Mesa Auto Paint in San Diego for letting me use their paint booth! It was awesome!


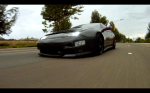
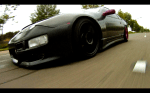
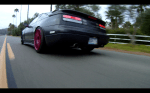
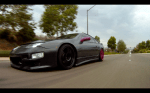
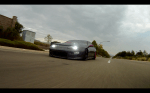
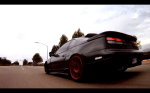
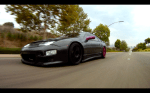
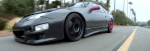
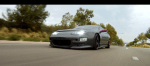
Here are a few rolling shots taken today on the way to ‘Taco’s and Tuners’ in Encinitas! Enjoy…


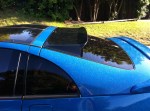
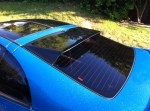
I knew I wanted a roof wing for a while now, I would google and google to see what was out there. I came across this one from www.OctaneMotorsports.com and loved it. Its been sitting in the packaging for a little while now while other things with the Z were going on. The installation was a breeze with some double sided sticky tape. I was going to do a how-to instal portion, but it was too simple.
The roof wing aligned up within a milimeter of the factory window, doesn’t get much more perfect.
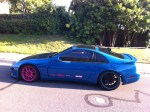
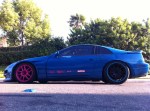
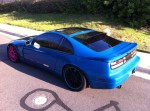
Here are a few pictures with different angles that have been requested!
Thanks for looking!


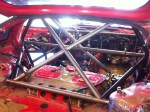
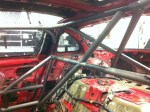
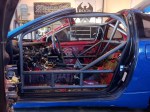
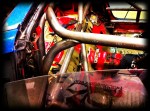
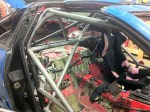
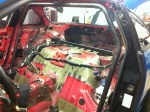
Thank you so much to Discombobulated Motorsports for fabbing up my roll cage for the Z! It came out super good, The welds are fantastic, and I can’t believe how fast it got done in! I cant wait to paint it!
Thanks to; Eric Perkett, Saul Banuelos, and Blain Fluke


Come out June 10th to Anaheim for the first of 2012’s Extreme Autofest! I’ll be out there gymkhana/drifting along with a few others! There will be a ton of cars to look at as well at the show!

Another box from Z1 Motorsports has come in! Included in this box were these giant 13 inch rotors with brackets to relocate the stock calipers! I’m super excited to see what a difference this will feel in my stopping power. A full write up, including a how-to will be up as soon as we put them on!

So I ordered a Sentrab oil cooler from Z1 Motorsports…. needless to say it was overdue.
This is just a pretty basic ‘how-to’ install ,pictures included.
First take the bumper, nose piece, and intake off, this will make things easier to get to.
Remove the fan with the two 10mm bolts on top and pull forward and lift out so you can access the oil cooler bracket. (Don’t forget to unplug the electrical connector to the right of the fan also)
It takes a 10mm to remove the oil cooler as well.

Bolt up the new bracket in the existing location using the same 10mm factory screws.

Bolt fan back in and plug the electrical thing back in the right side of the fan.

Install oil cooler, and make sure to top off your oil.

Z1 sent these fittings so I could use my stock lines…

Install fittings, make sure the fittings on both facing the passenger side of the car. It’s also a good idea to use some 3m double sided sticky tape along the bottom to secure it down even more.

Attach factory lines to fittings…

Then just re-attach your air filter, and you’ll be running as cool as ever! ;P


